
My go-to hobby has always been baking. Whether I’m in a good mood and want to celebrate, or I’m feeling bummed and need a pick-me-up, there’s no better solution than grabbing a mixing bowl and popping something in the oven. Cookies, cupcakes, brownies — I’m a fan of all of it, which is why I was so excited when Vivian asked me to share recipes with you.
Not only do the end results taste delicious (and the batter along the way is even better), but baking has been proven to boost mental health. That’s some science I can get behind! Of course I’m not suggesting you eat your feelings, but if you need a temporary distraction or want to channel your grief into a positive outlet, this could be a perfect activity.
In this post, I’ll be sharing a recipe for cookies & cream chocolate-chip cookies. Anything that has the word “cookies” twice in its name sounds AMAZING to me. I found the recipe on Pinterest (aka my favorite place to find food-spiration), which originally came from an awesome baking site called Inside Bru Crew Life.
Before you begin, keep in mind that the dough will need to be refrigerated for 30 minutes before baking, so allow an extra half-hour in your prep time!
INGREDIENTS

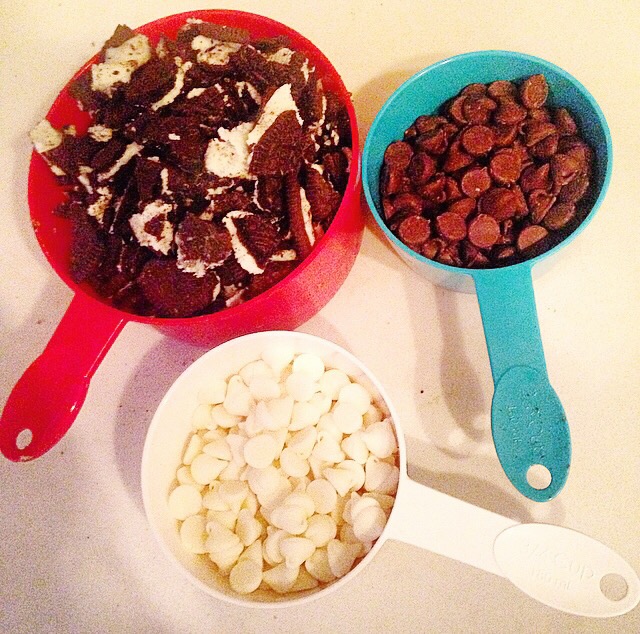
- 2 cups of crushed Oreos (This wound up being two rows of cookies inside the regular pack. I crushed them by hand.)
- 1 box of vanilla cake mix (I chose Betty Crocker, but use your favorite brand!)
- ½ cup of chocolate chips (I used semi-sweet, which tend to be best for baking. I’m sure milk or dark chocolate would be equally delicious.)
- ½ cup of white chocolate chips
- 1 egg
- 1 tsp of vanilla extract
- 8 tbsps of melted butter (or one full stick)
- 4 oz of softened cream cheese (or if you’re spooning it out, it’s ¼ cup)
DIRECTIONS
1. First things first, you’ll want to melt the butter. I cut my stick into chunks and stuck it in the microwave for 30 seconds at 50% power. Then stir with a fork, and microwave for another 15 seconds. Repeat until it’s completely melted.
2. Mix together the butter, cake mix, egg, and vanilla. Even though the original recipe says to beat it with a mixer, I only had a wooden spoon in my apartment. Improvise with whatever tools you have in your kitchen!

Luckily, a wooden spoon with some extra oomph gets the job done! It takes a little longer, but keep mixing until it looks like this:

3. Once that’s combined, add in the cream cheese. Again, this must be much easier with either a stand or hand mixer. But if need be, the wooden spoon works just fine.

4. Stir in all of the chunks — aka the chocolate chips, white chocolate chips, and crushed Oreo cookies.
At first, there will look like there are SO MANY chunks…

Just keep mixing! Until it looks like this:

5. Take your dough and form it into a giant ball.

6. Resist the urge to eat it all with a spoon… Instead, wrap it in plastic wrap.

7. Stick the dough in the fridge for at least 30 minutes.

Pro tip: This is the perfect time to take a brief Netflix break! You can totally fit in a half-hour episode of your favorite show.

8. Once the dough has been refrigerated, preheat your oven to 350 degrees.
9. As your oven heats up, roll the dough into balls. There wasn’t any guidelines of how big, so I guesstimated. The recipe is supposed to make 36 cookies and you can keep that in mind as you roll them. I got ~40 cookies total (even after I ate some dough along the way).

10. Put your tray of cookies in the oven. The original recipe says 9 minutes. My first tray was done in 7 minutes, but another took 11 minutes. Set your timer for 7 and check the cookies. After 7 minutes, continue checking and adding 2-minute increments until they’re done.

They may look doughy or soft on top, but it’s the bottom of the cookie that matters. If they’re golden brown underneath, then you’re golden too!
11. Let the cookies cool completely before storing… Or if you’re going to eat them right away, at least wait until they’re relatively cool. (I’ll admit I couldn’t wait too long and they were DELICIOUS when still warm!)

What’s your favorite cookie recipe? Share in the comments, and keep an eye out for the next baking post!

Bravo, Jamie! These look delicious! <3