Let’s be honest: Mondays don’t have the best reputation. They’ve basically become the day that everybody dreads. Homework? Chores? To-do lists galore? Ughhh. But why not switch things up with a positive perspective? Whether testing out a recipe or tackling a DIY project, makeover your Monday mentality with an activity that boosts your mood and gets you pumped for the week ahead.
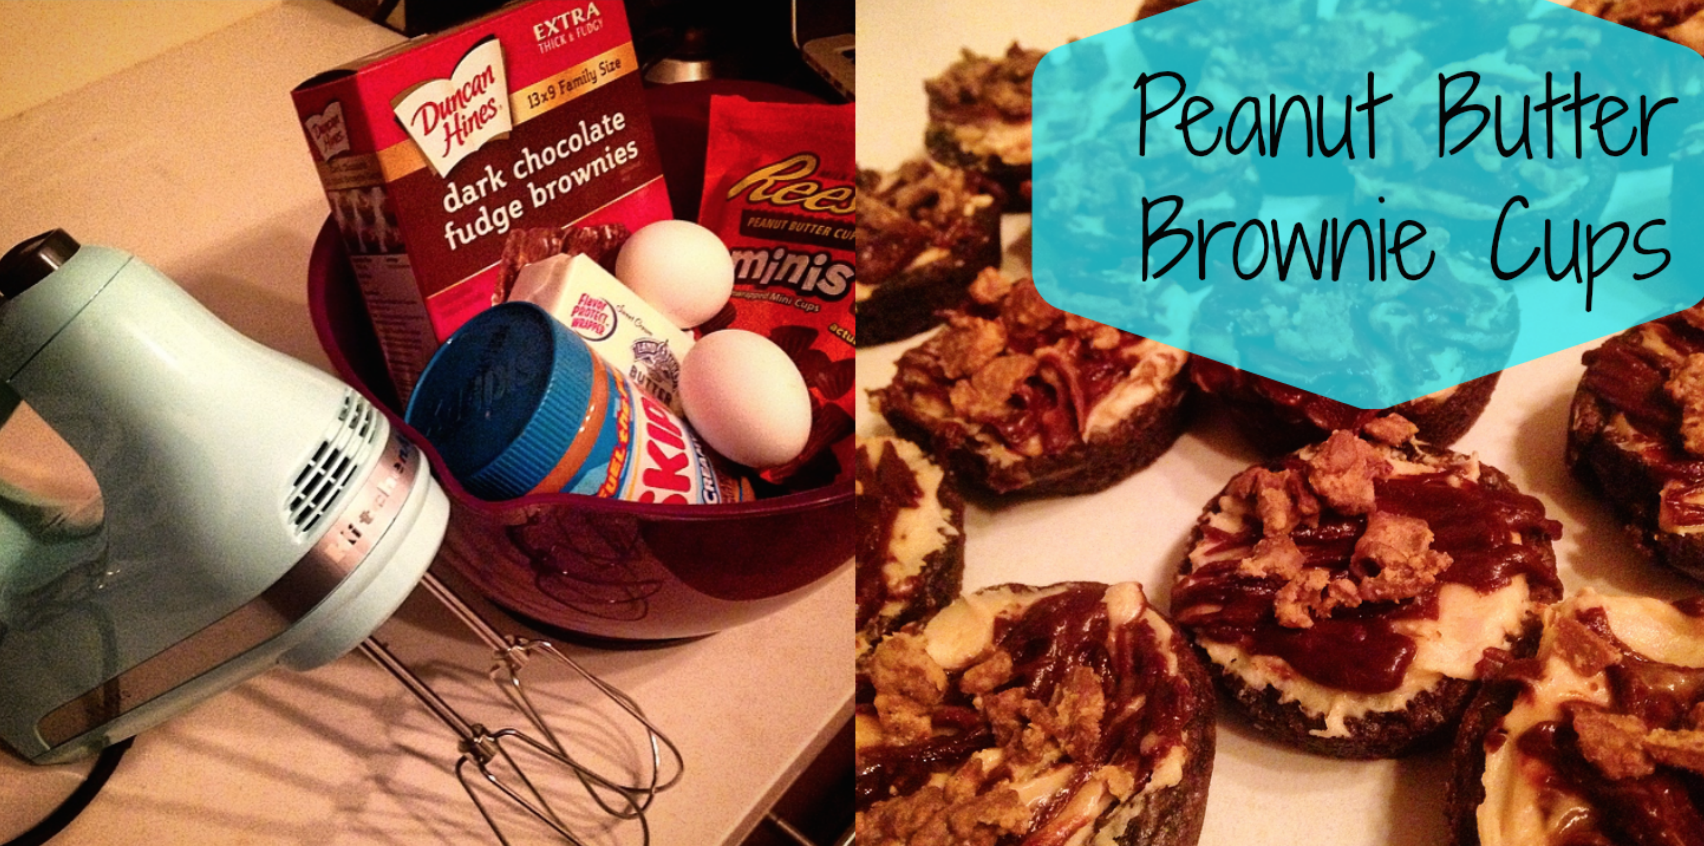
As an after-work treat, I decided to make these peanut butter brownie cups on Monday night. You may be wondering, what’s a brownie cup?? But really, it’s just brownies made in a cupcake tray. Simple, yet a step-up from your standard squares! Not only do they look adorable, but you don’t even have to cut them.
This recipe is adapted from Betty Crocker’s site. They call them “peanut butter truffle brownies.” The frosting is amazing, BTW! You’ll want to eat it by the spoonful — not even kidding.
INGREDIENTS
 For the brownie cups…
- Your favorite brownie mix
- Eggs, Oil, Etc. (Whichever ingredients are needed for the mix)
* If you’re feeling especially ambitious, you can make the brownie batter from scratch. More power to you!
For the peanut butter frosting…
- 1/3 cup of softened butter
- 1/3 cup of peanut butter
- 1 & 1/3 cups of confectioner’s sugar
- 3 teaspoons of milk
For the chocolate fudge topping…
- 3/4 cup of semi-sweet chocolate chips
- 3 tablespoons of butter
+ 1 bag of mini Reese’s peanut butter cups
DIRECTIONS
1. Preheat your oven to the temperature listed on your brownie mix.
2. Begin mixing the brownie batter. This will be your mix, eggs, oil, water, etc. You can use a wooden spoon, BUT I got this brand-new mixer for my birthday, so I had to try it out.

Combine the ingredients until there aren’t any chunks.
 Almost there…

3. Grease your cupcake pan. I used a non-stick spray. You could also stick cupcake wrappers in there if you’re feeling fancy!

4. Pour your brownie mix into the pan.

Fill them up about halfway. They’ll rise a little bit when they bake, but not too much.

5. Put the brownie tray in the oven for approximately 15 minutes.

You’ll know there done when you stick a fork (or toothpick) into the batter and it comes out clean!
6. Take the brownies out of the oven.

They should sit for a few minutes before you remove them out of the tray. (I was a bit impatient and mine started to crumble—oops!) After you take brownies out, let them cool completely before adding the frosting.
7. In the meantime, start making your frosting! Combine the confectioner’s sugar, peanut butter, softened butter, and milk in a mixing bowl.

Learn from my mistake and make sure your butter is actually softened! Otherwise it’s going to take extra time for it to mix together. Plus, it’ll just turn into a bunch of chunks. If that happens, you can add another splash of milk!

Just keep mixing! Until it looks like this…

Licking the beaters = optional (but highly recommended).
8. Spread the frosting onto the cooled brownies.

They’d probably be delicious just like that, but wait… there’s more!
9. Heat up the remaining butter and chocolate chips in the microwave. Start with 30 seconds and stir.

You may have to microwave it another 30 seconds if it looks like this…

Keep going until it’s a smooth consistency:

10. Spread the chocolate on top of the peanut butter frosting. I used a fork and drizzled it, in an attempt to make it look like zebra stripes. Decorate however you want!

11. Crush up your Reese’s cups and sprinkle them on top. I just stuck the Reese’s in a baggie and used a glass to gently crush them. You can also crumble them with your hands.

After that, stick the brownies in the fridge! They tend to get kind of melty. Once they’ve cooled, grab a glass of milk and enjoy!
P.S. If you’re not a peanut butter fan, try this cookies & cream chocolate-chip cookie recipe instead! Don’t forget to show us what you create. Tag @2DamnYoung in your baking photos on Instagram or Twitter!

1 Comment